
Understanding Woods Electrical Timers
Woods electrical timers offer convenient control over appliances and lighting, enhancing energy efficiency and simplifying daily routines. These devices, ranging from mechanical to digital, automate on/off cycles.
They are widely used for lamps, fans, heaters, and other electrical devices, providing a user-friendly way to manage power consumption and security.
What is a Woods Electrical Timer?
Woods electrical timers are devices designed to automatically switch electrical circuits on and off at predetermined times. They range from simple mechanical models, like the 50102WD and 50103WD, to sophisticated digital programmable timers capable of handling up to 140 on/off programs weekly.
These timers offer convenience and energy savings by automating control of lights, appliances, and other electrical equipment. 7-Day lighting timers, such as the TD1300-2, are popular for home and holiday lighting, enhancing security and reducing energy waste.
Common Applications of Woods Timers
Woods timers find diverse applications in residential and commercial settings. They are frequently used to automate indoor and outdoor lighting, providing security and convenience. Controlling space heaters, fans, and humidifiers is another common use, optimizing comfort and energy efficiency.
Holiday and seasonal decorations benefit from timer control, simplifying setup and operation. Additionally, Woods timers are employed in aquariums, terrariums, and hydroponic systems to regulate lighting cycles, supporting plant and animal health.
Types of Woods Electrical Timers
Woods offers a variety of timers, including mechanical models like the 50102WD and 50103WD, digital programmable timers, and specialized 7-day lighting timers such as the TD1300-2.
Mechanical Timers (e.g., 50102WD, 50103WD)
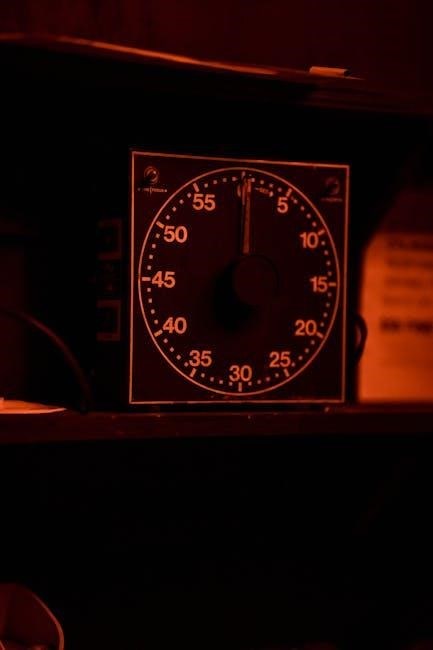
Woods mechanical timers, like the 50102WD and 50103WD, are known for their simplicity and reliability. These timers utilize a rotating dial with on/off segments to control electrical devices.
To operate, adjust the dial to align the current time with the desired on/off times. The timer feature allows setting a countdown duration, independent of scheduled cycles.
These are ideal for basic scheduling needs, offering a straightforward approach to automating appliances without complex programming. An instructional video is available on Amazon Live.
Digital Programmable Timers
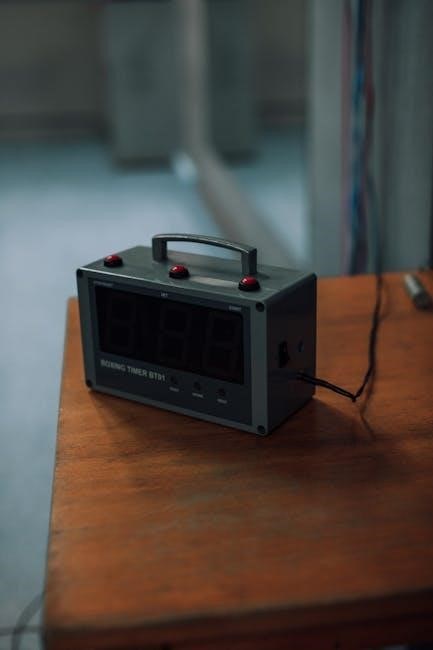
Woods digital programmable timers offer advanced control with the ability to preset up to 140 on/off programs weekly. This allows for highly customized scheduling to automate appliances and maximize energy savings.
These timers feature a digital display and buttons for setting the current time, date, and individual on/off programs. They are ideal for complex schedules requiring precise timing and flexibility.
Users can easily adjust settings to suit their needs, creating a convenient and efficient home automation system.
7-Day Lighting Timers (e.g., TD1300-2)
Woods TD1300-2 7-day lighting timers are designed for indoor use, providing automated control of lights throughout the week. These timers simplify home security by simulating occupancy when you’re away, and enhance convenience by automatically turning lights on and off.
They feature a simple interface for programming different on/off schedules for each day of the week, offering flexibility to match your lifestyle. The timer feature allows countdown settings.

Setting Up Your Woods Timer
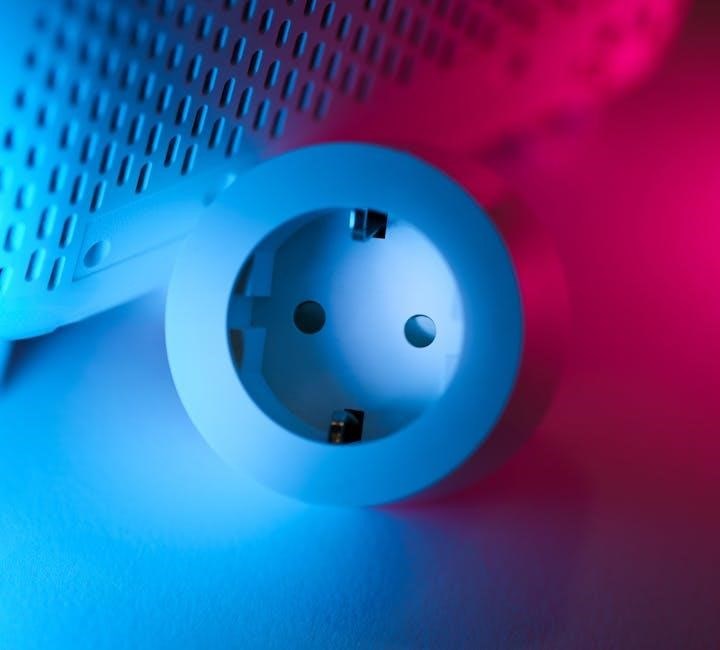
Initial setup involves securely connecting the timer to a grounded outlet and plugging in the appliance. Ensure proper voltage and wattage ratings are observed for safe operation.
Initial Setup and Power Connection
Before using your Woods timer, carefully inspect it for any visible damage. Connect the timer to a standard, grounded electrical outlet, ensuring a snug fit. Next, plug the appliance you wish to control directly into the timer’s receptacle.
Verify that the appliance’s voltage and wattage requirements are compatible with the timer’s specifications to prevent overheating or malfunction. Avoid using extension cords or adapters, as they can compromise safety. Finally, confirm the timer is switched to the “off” position before powering it on.
Understanding the Timer Dial/Buttons
Mechanical timers feature a rotating dial with on/off segments; adjust these to define the desired operating schedule. Digital timers utilize buttons for setting the current time, date, and on/off programs. The “Sleep” button initiates a countdown timer for automatic shut-off.
Explore the “Program” or “Set” buttons to create customized schedules. Refer to your specific model’s manual for detailed explanations of each button’s function and the dial’s markings, ensuring accurate programming.

Programming a Woods Digital Timer
Digital Woods timers allow precise scheduling with up to 140 on/off programs weekly. Setting the correct time and date is crucial for accurate automated control.
Utilize the timer’s buttons to define specific on and off times, optimizing energy use and convenience.
Setting the Current Time and Date
Accurately setting the time and date is the foundational step for programming your Woods digital timer. Begin by locating the “Set” or “Time Set” button, often requiring a press and hold to activate the setting mode.
Use the hour and minute buttons to adjust the current time, ensuring AM or PM is correctly selected. Subsequently, navigate to the date setting, typically following the same button sequence. Confirm each entry by pressing “Set” again, finalizing the time and date configuration for reliable scheduling.
Creating On/Off Programs
Programming on/off schedules is central to a Woods digital timer’s functionality. Access the program mode, often labeled “Program” or “P.” Select a program number, then define the hour and minute for the “On” time, followed by the “Off” time.
Specify the days of the week for this schedule to repeat. Repeat this process for each desired on/off cycle, leveraging the timer’s capacity to automate appliance control throughout the week, enhancing convenience and energy savings.
Using the 140 On/Off Program Capacity
Woods digital timers boast an impressive 140 on/off program capacity per week, allowing for highly customized scheduling. Utilize this by breaking down your daily or weekly routines into individual on/off events.
Assign specific program numbers to each event, ensuring clear organization. This extensive capacity is ideal for complex lighting schemes, appliance control, or simulating occupancy while away, maximizing both convenience and energy efficiency.
Operating a Woods Mechanical Timer
Mechanical Woods timers are set by rotating the dial to define on/off periods. The timer feature initiates a countdown from a specified duration, without automatic cycling.
Adjusting the Timer Duration
To adjust the duration on a Woods mechanical timer, carefully rotate the timer dial. Turning it clockwise increases the on-time, while counterclockwise decreases it. Observe the markings on the dial, representing hours or segments of a day, to set the desired timing.
After the final adjustment, allow approximately ten seconds for the timer to register the new settings. This ensures accurate operation and prevents unintended changes. Remember, these timers operate on a simple cycle, turning on and off based on this set duration.
Understanding the Timer Feature (Countdown)
The timer feature, often found on Woods timers, functions as a countdown mechanism. Users input a specific duration, and the timer initiates a countdown from that point. Unlike a repeating schedule, this feature activates once and then stops, without automatically resetting.
It’s important to note that this countdown does not automatically turn an appliance on; it simply controls how long an already-on appliance remains powered. This is ideal for temporary tasks or situations requiring a precise, one-time duration.
Troubleshooting Common Issues
Common problems with Woods timers include failure to turn on/off, incorrect time displays, and programs not running as expected. Checking power connections and settings is crucial.
Timer Not Turning On/Off
If your Woods timer isn’t operating, first verify the power source is active and the timer is correctly plugged in. Ensure the programmed on/off times are accurate and correspond to the current time and date. For mechanical timers, confirm the dial is set to the ‘ON’ or programmed duration.
Digital timers may require resetting if a program isn’t activating. Inspect the appliance connected to the timer; it must be functioning correctly. A tripped circuit breaker could also be the cause, so check your electrical panel.
Incorrect Time Display
An inaccurate time display on your Woods timer can disrupt programmed schedules. For digital models, consult the manual to locate the time and date setting functions. Often, a dedicated ‘SET’ or ‘TIME’ button initiates this process. Ensure you’ve selected the correct AM/PM designation during setup.
If the display remains incorrect after resetting, the timer’s internal battery might be depleted, requiring replacement. Some models may automatically synchronize with the power grid; verify this feature is enabled.
Program Not Running as Expected
If your Woods timer’s program isn’t executing correctly, first double-check all programmed on/off times and days. Verify the timer isn’t in a ‘manual override’ mode, which disables scheduled programs. Confirm the current time and date are accurately set, as this impacts program execution.
For digital timers with a 140 on/off program capacity, ensure you haven’t accidentally overwritten desired settings. A full reset to factory defaults, followed by reprogramming, can resolve complex issues.
Safety Precautions
Always disconnect power before wiring or servicing a Woods timer. Ensure proper grounding and avoid use in excessively damp or hazardous environments.
Follow all electrical safety guidelines and the timer’s manual for safe operation and longevity.
Electrical Safety Guidelines
Prioritize safety when installing and using Woods timers. Always disconnect power at the circuit breaker before making any wiring connections to prevent electrical shock. Ensure the timer is properly grounded according to local electrical codes.
Never exceed the timer’s voltage and wattage ratings, as this could create a fire hazard. Inspect wiring for damage before connecting. Avoid using timers in wet or damp locations unless specifically designed for outdoor use. If unsure about any aspect of the installation, consult a qualified electrician.
Proper Usage and Environmental Conditions
Woods timers are designed for indoor use, though some models are suitable for protected outdoor locations. Avoid exposing timers to extreme temperatures, direct sunlight, or excessive moisture. Ensure adequate ventilation around the timer to prevent overheating.
Do not tamper with the timer’s internal components. Regularly inspect the timer for any signs of damage. Use the timer only as intended, following the manufacturer’s instructions. Proper care extends the timer’s lifespan and ensures reliable operation.

Resources and Manuals
Woods Timer manuals are readily available online, including models 50007, 50013, and N1502. ManualsLib provides a comprehensive archive for easy access to documentation.
Locating Your Timer’s Manual (e.g., 50007, 50013, N1502)
Finding the correct manual for your Woods timer is crucial for proper setup and operation. Start by checking the model number, often found on the device itself – examples include 50007, 50013, or N1502.
Once you have the model number, a quick online search using terms like “Woods timer [model number] manual” will yield results. ManualsLib is a particularly useful resource, hosting a large collection of Woods timer documentation. Alternatively, Coleman Cable Inc. often provides instructional videos and support materials on platforms like Amazon Live.
Woods Timer Manuals Online (ManualsLib)
ManualsLib serves as a comprehensive online repository for Woods timer manuals, offering readily accessible documentation for numerous models. Currently, the site hosts over 71 Woods Timer manuals, including specific guides for models like 50007 and 50013.
Users can easily search and download these manuals in PDF format, providing detailed instructions on setup, programming, troubleshooting, and safety precautions. This resource is invaluable for anyone seeking to understand and effectively utilize their Woods electrical timer.
Advanced Features
Woods timers boast features like sleep timer functionality, allowing automated shut-off for lights or sounds. These features contribute to energy savings and enhanced convenience.
Sleep Timer Functionality
Woods timers often include a sleep timer, a valuable feature for automating device shut-off before bedtime. Activating this function, typically by pressing a dedicated “Sleep” button, sets a countdown timer.
The display will show a flashing time, often starting at 15 minutes, which can be adjusted to your preference. Once the timer reaches zero, the connected appliance will automatically turn off, promoting energy conservation and peaceful sleep. This is ideal for lights, fans, or sound machines.
Energy Saving Benefits
Woods electrical timers significantly contribute to energy conservation by preventing devices from running unnecessarily. Programmable digital timers, capable of storing up to 140 on/off programs weekly, optimize energy usage based on your schedule.
Automating appliance control eliminates standby power consumption, reducing electricity bills and minimizing your carbon footprint. Even mechanical timers offer savings by ensuring lights or heaters aren’t left on when not needed, promoting a more sustainable lifestyle.

Specific Model Instructions
Woods timers, like the 49556 and TD1300-2, have unique features. The TD1300-2 includes a timer feature for countdown settings, while others offer sleep functions.
Woods 49556 Timer Instructions
The Woods 49556 timer is a versatile device for automating electrical appliances. To operate, connect the timer to a grounded outlet and plug in your desired device. Utilize the timer dial to set the desired on/off times, turning the knob clockwise to increase and counterclockwise to decrease.
After adjustment, the timer will automatically begin the programmed cycle. This model is ideal for controlling lights, fans, or small appliances, offering a simple solution for energy management and convenience. Remember to consult the full manual for detailed instructions and safety guidelines.
Woods TD1300-2 Timer Instructions
The Woods TD1300-2 is a 7-day programmable lighting timer designed for indoor use. Begin by setting the current time and date using the timer’s buttons. Then, program desired on/off schedules for each day of the week. The timer feature allows a countdown from a specified time, independent of programmed schedules.
Ensure proper connection to a grounded outlet and the appliance. This timer offers flexibility in automating lighting for security or energy savings. Refer to the manual for detailed programming and troubleshooting steps.
Where to Buy Woods Timers
Woods timers are readily available at various retail locations and online retailers like Amazon. This ensures convenient access for consumers seeking automation solutions.
Check local hardware stores or browse online for the specific model you need.
Retail Locations
Woods timers can be found in numerous hardware and home improvement stores across the country. Major retailers like Lowe’s and Home Depot frequently stock a selection of Woods timer models, offering both mechanical and digital options.
Additionally, smaller, locally-owned hardware stores may carry Woods products, providing a more personalized shopping experience. Checking with regional distributors or electrical supply stores is also recommended for specific model availability. Inventory varies by location, so calling ahead is advised.
Online Retailers (Amazon)
Amazon is a prominent online retailer offering a wide variety of Woods electrical timers. Customers can easily browse through different models, read reviews, and compare prices from various sellers.
Amazon Live frequently features instructional videos from Coleman Cable Inc., demonstrating the setup and operation of Woods timers like the 50102WD and 50103WD. Convenient shipping options and a robust return policy enhance the shopping experience on Amazon.
Woods Timer Instructional Videos
Amazon Live provides helpful videos from Coleman Cable Inc., demonstrating Woods timer setup and operation, including models like the 50102WD and 50103WD.
These resources visually guide users through programming and troubleshooting common issues.
Amazon Live Instructional Videos
Coleman Cable Inc. offers detailed instructional videos on Amazon Live, specifically focusing on the Woods 50102WD and 50103WD mechanical timers. These videos provide a step-by-step visual guide, demonstrating how to effectively utilize the timer’s features.
Experts walk viewers through the initial setup, adjusting the timer duration, and understanding the countdown function. These resources are invaluable for users seeking a clear and concise understanding of operating these specific Woods timer models, ensuring proper functionality and maximizing convenience.

Timer Specifications
Woods timers vary in voltage and wattage ratings; check your model’s label. They generally operate within 120V/60Hz and have specific maximum wattage limits for safe operation.
Voltage and Wattage Ratings
Woods timers are typically designed for standard 120-volt, 60-hertz electrical systems commonly found in North American homes. Crucially, each model has a maximum wattage rating that must not be exceeded.
Exceeding this limit can damage the timer and potentially create a fire hazard. Common wattage limits range from 300W to 1800W, depending on the timer type and intended use. Always verify the specific wattage rating printed on the timer itself or in the accompanying instruction manual before connecting any appliance.
Operating Temperature Range
Woods timers are designed for indoor use within a specified temperature range, generally between 32°F and 122°F (0°C and 50°C). Operating outside this range can affect the timer’s accuracy and lifespan.
Exposure to extreme temperatures – either hot or cold – may cause malfunctions or damage to the internal components. Avoid installing timers in areas prone to significant temperature fluctuations, such as uninsulated attics or garages, to ensure reliable performance and longevity.
Be First to Comment