Choosing the right motorcycle jacket is a crucial decision for any rider, as it combines safety, comfort, and style. A well-fitting jacket not only enhances your riding experience but also provides essential protection in case of an accident. With so many styles, materials, and sizes available, selecting the perfect jacket can be overwhelming, especially for newcomers to motorcycling.
Motorcycle jackets come in various designs, such as leather, textile, and mesh, each offering unique benefits. Leather jackets are known for their durability and abrasion resistance, while textile jackets often feature waterproofing and breathability. Mesh jackets prioritize ventilation, making them ideal for hot weather. Understanding your riding style and needs is the first step in narrowing down your options.
The fit of your jacket is just as important as its material. A jacket that is too tight may restrict movement, while one that is too loose can compromise safety and comfort. Proper sizing ensures that protective features, such as armor pads, stay in place during a crash. Many riders also consider the ability to layer clothing underneath their jacket, which adds versatility for varying weather conditions;
When selecting a jacket, it’s essential to consult a size chart specific to the manufacturer. Chest measurement is the primary factor, but other measurements, such as waist and sleeve length, may also be relevant. Some brands offer different fits, such as American, European, or race styles, catering to diverse body types and preferences.
Investing in a high-quality motorcycle jacket is a long-term decision. It’s not just about looking good on the road but also about staying safe and comfortable. By focusing on the right fit, material, and features, you can find a jacket that meets your needs and enhances your overall riding experience.
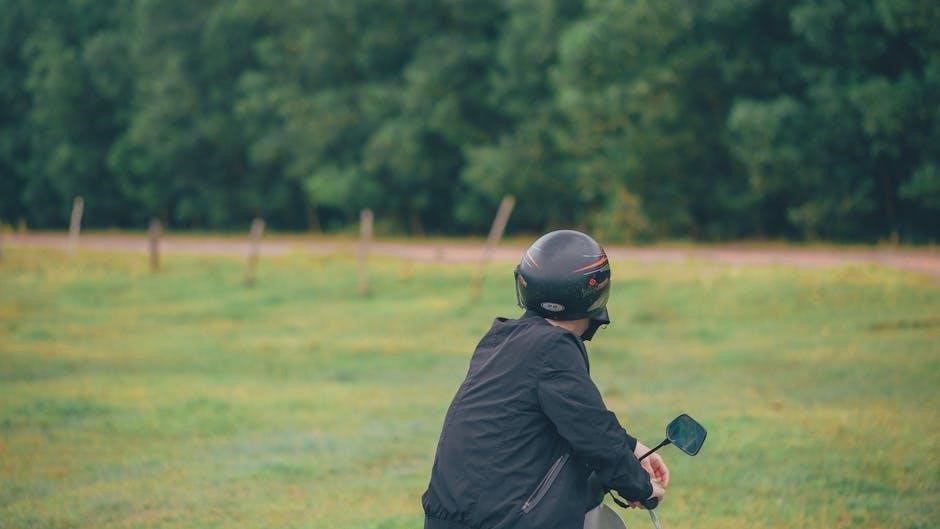
How to Measure for a Motorcycle Jacket
Measuring for a motorcycle jacket is a straightforward process that ensures you find the perfect fit for comfort, safety, and style. Whether you’re a seasoned rider or new to motorcycling, understanding how to measure yourself accurately will help you make an informed decision. Below, we’ll guide you through the steps to measure for a motorcycle jacket effectively.
Step 1: Gather Your Tools
To measure yourself accurately, you’ll need a flexible tape measure. This is essential for getting precise measurements around your body. If you don’t have a tape measure, you can purchase one at a local sewing or craft store. Alternatively, you can visit a tailor or a clothing store and ask them to measure you professionally. For the best results, wear a thin t-shirt or no shirt at all during the measurement process to ensure the tape measure lies flat against your skin.
Step 2: Measure Your Chest
Your chest measurement is the most critical factor when determining your jacket size. To measure your chest:
- Stand up straight and relax your arms at your sides.
- Wrap the tape measure around the fullest part of your chest, usually just under your armpits.
- Ensure the tape measure is parallel to the floor and not too tight or too loose. You should be able to fit two fingers comfortably under the tape measure.
- Take note of the measurement in inches or centimeters.

This measurement will serve as the primary reference point for most motorcycle jacket size charts.
Step 3: Measure Your Waist
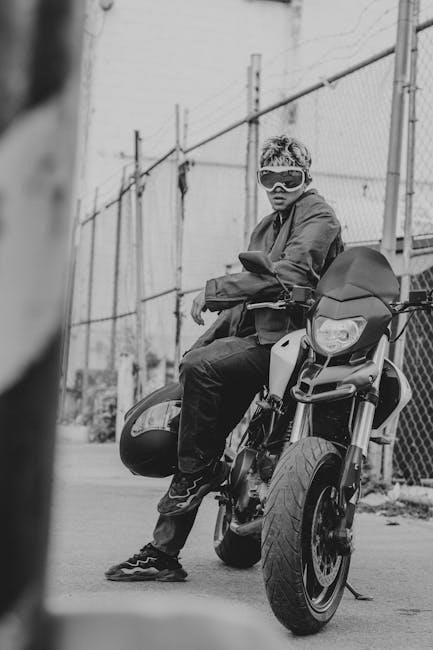
While chest measurements are the most important, some jackets are designed with a tailored fit and may require your waist measurement. To measure your waist:
- Locate your natural waistline, which is the narrowest part of your torso, usually just above your hipbone.
- Wrap the tape measure around this area, keeping it parallel to the floor.
- Again, ensure the fit is snug but not overly tight. You should be able to breathe comfortably with the tape measure in place.
- Record this measurement as well.
Your waist measurement is particularly useful if you’re considering a jacket with adjustable waist straps or a more fitted design.
Step 4: Measure Your Sleeve Length
Sleeve length is another important measurement, especially if you plan to wear the jacket for long rides or in varying weather conditions. To measure your sleeve length:

- Hold your arm straight out to your side at a 90-degree angle.
- Place the tape measure at the base of your neck, just above your shoulder blade.
- Run the tape measure down your arm, following its natural curve, and stop at your wrist bone.
- Record this measurement to ensure the jacket sleeves are neither too short nor too long for your arms.
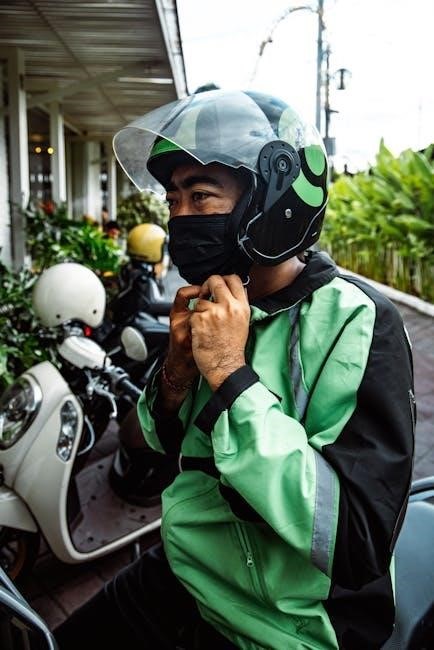
Proper sleeve length ensures that the jacket’s protective features, such as shoulder and elbow armor, remain in the correct position during a ride.
Step 5: Consider Your Body Type
Every person’s body is unique, and jacket sizes may vary slightly between brands. If you have a broader chest or shoulders, for example, you may need to size up to ensure comfort and mobility. Conversely, if you have a slimmer build, you may prefer a more tailored fit to avoid excess fabric.
Some jackets are designed with specific body types in mind, such as race fits for leaner riders or relaxed fits for those with a larger frame. Consider your body type when selecting a jacket style to ensure the best fit.
Step 6: Use the Manufacturer’s Size Chart
Once you’ve taken your measurements, compare them to the size chart provided by the jacket’s manufacturer. Most brands offer detailed charts that list chest, waist, and sleeve measurements for each size. Keep in mind that sizing can vary significantly between brands, so it’s essential to refer to the specific chart for the jacket you’re interested in.

If your measurements fall between two sizes, consider whether you prefer a snug fit or a little extra room for layers. Some riders opt for a larger size to accommodate additional clothing, such as thermal layers or a fleece jacket, during colder months.

Step 7: Try It On If Possible
If you have the opportunity to try the jacket on before purchasing, take advantage of it. This is the best way to ensure the jacket fits well and meets your needs. When trying it on:
- Pay attention to how the jacket feels when you sit and move your arms.
- Ensure the armor or padding is in the correct position, particularly in the shoulders and elbows.
- Check the length of the jacket to ensure it provides adequate coverage while sitting and standing.
- Test the zippers, pockets, and adjustable features to ensure they function smoothly.
If trying the jacket on isn’t possible, many retailers offer return policies that allow you to exchange or return the jacket if it doesn’t fit as expected.
Additional Tips for Accurate Measurements
- Use a flexible tape measure: A rigid tape measure won’t conform to your body shape and may lead to inaccurate results.
- Measure twice: Double-check your measurements to ensure accuracy. It’s easy to make small mistakes during the process.
- Ask for help: If possible, have a friend or family member assist you with the measurements, especially for hard-to-reach areas like your back or shoulders.
- Consider your riding position: If you ride in an aggressive position, you may prefer a jacket with longer sleeves or a shorter torso length for better coverage.
Measuring for a motorcycle jacket is a simple yet crucial step in finding the right gear for your rides. By following these steps and using the manufacturer’s size chart, you can ensure a comfortable, safe, and stylish fit. Remember, your motorcycle jacket is an investment in your protection and enjoyment on the road, so take the time to get it right. Whether you’re cruising through the city or exploring scenic highways, the perfect jacket will elevate your riding experience in every way.

Be First to Comment